Guide to High Quality Audio Recording
Are you prepared to cause your audio recordings to be taken to another level? Do you ever ask yourself how you can achieve that professional sound quality that will always make the listeners stick around? Being a musician, podcaster or content creator requires one to know and master how to do high-quality audio recording.
A comprehensive guide, this book is about everything there is in the world of audio recording including techniques, equipment, and hints that will make you have a lovely sound experience. Get ready for it; choose the best gears and then learn how to use microphones effectively until you can record your audio at higher levels than before.
High-Quality Audio Recording - What It Means
High-quality audio recording surpasses just capturing sound but rather represents it as it occurred with perfect clarity, deepness, and faithfulness. It involves picking every fine detail of performance or source of sound with precision and exactitude so that it looks like a carbon copy of everything.
High-quality audio recording calls for attention to technicalities such as choice, placement, and signal processing while ensuring an environment conducive to the purest capture of sounds. To give your audience an immersive listening encounter, capturing audio in its truest form without any distortion, noise or artifacts becomes necessary.
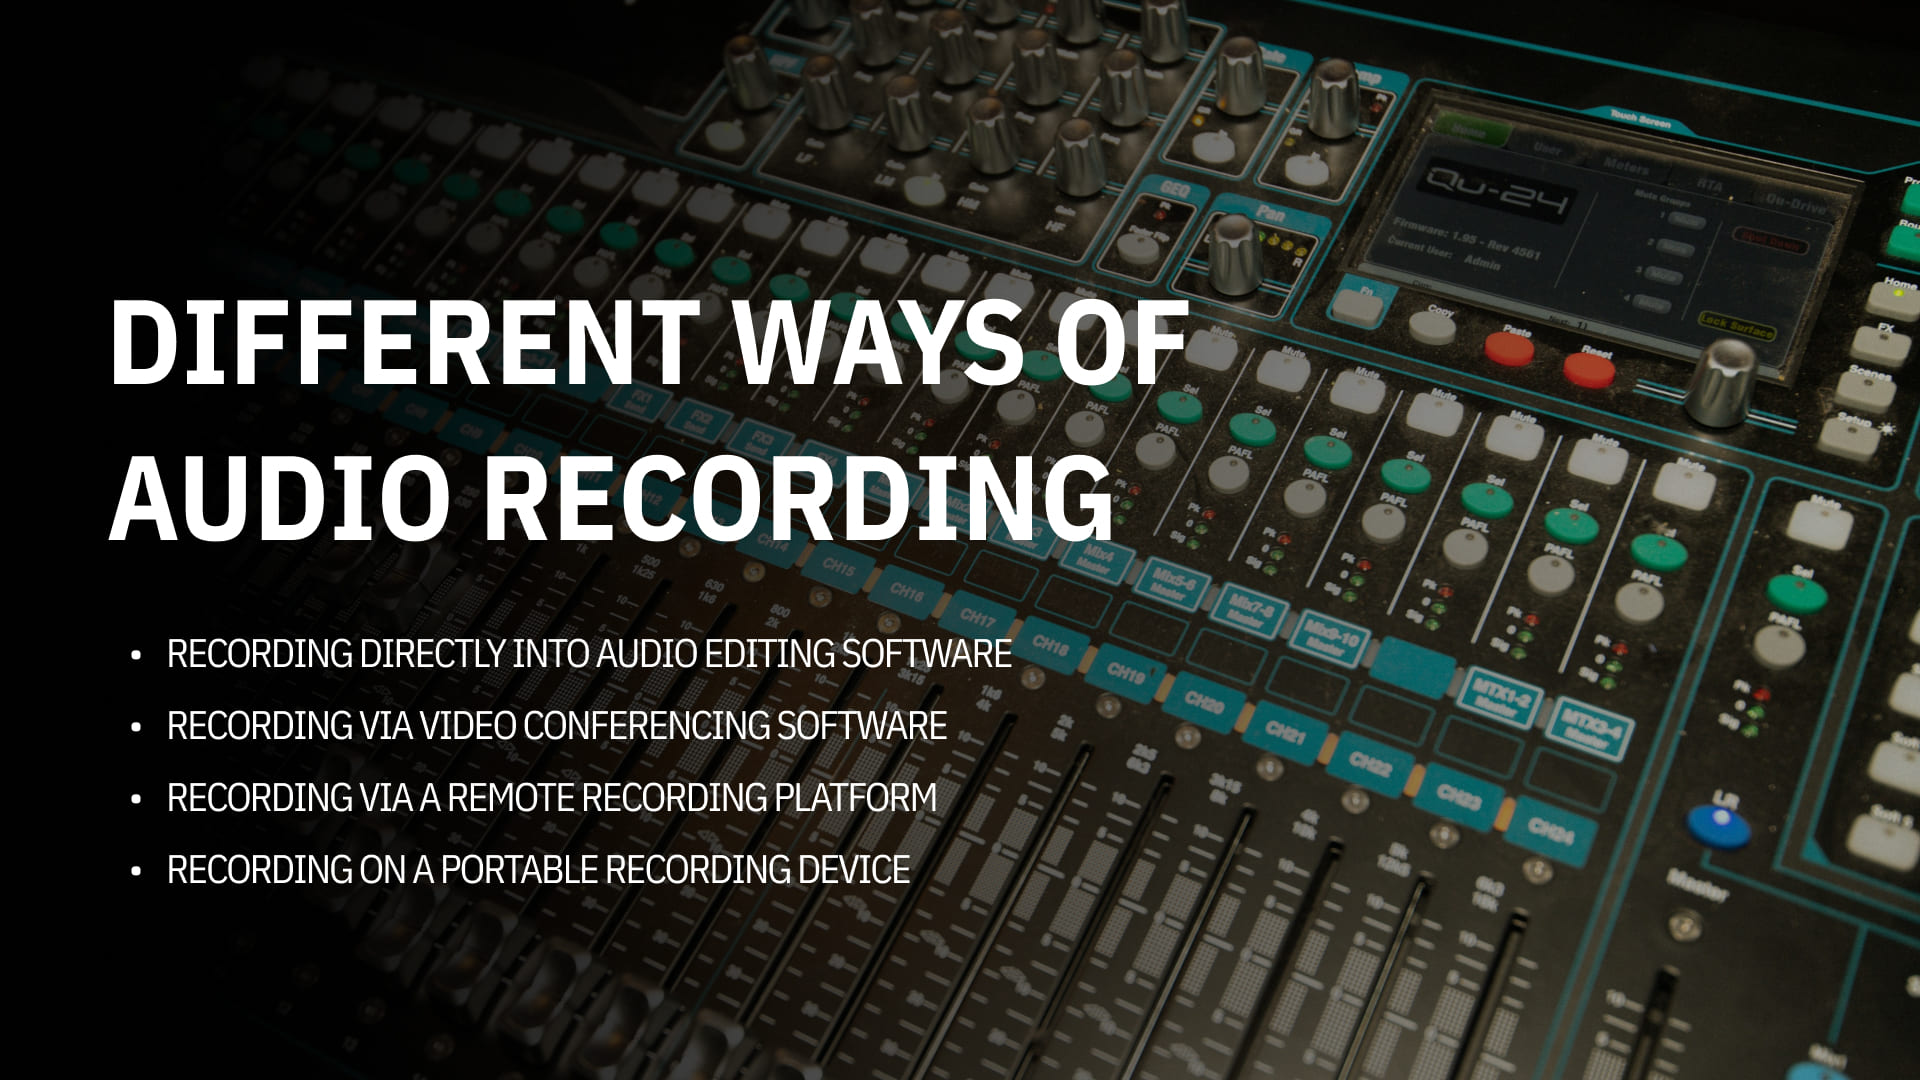
Different Ways of Audio Recording
1. Recording directly into audio editing software:
Audio recording software like Audacity or Adobe Audition, for example, allows one to record directly into it and results in the utmost control and adaptability during audio recording.
When you collect sound on its way to the digital editor, you can easily change and edit it until the desired result is achieved. This type of audio recording helps fine-tune levels, EQs, and effects for better sound quality.
Recording directly into audio editing software enables real-time monitoring and fine-tuning of your recording which makes it preferable to other professionals who want good quality sound.
2. Recording via video conferencing software:
In remote interviews, discussions and collaborations content creators have taken to using video conferencing software as a means of recording. Video communication platforms like Zoom and Meet also have audio recording capabilities though they are primarily designed for that purpose.
While it is useful for capturing chats in real time, video conferencing compression and limited bandwidth could lead to poor audio quality. However, respectable results can still be attained by setting up properly optimized podcasts or any other content through careful setup even through this method of audio recording.
3. Recording via a remote recording platform:
To record audio at a high quality over the Internet, there are remote recording platforms such as Cleanfeed or Source-Connect. Such platforms allow for multiple participants to do real-time audio recording with no data compression so that only pure sounds will be transferred.
Remote recording platforms, which are perfect for remote collaborations necessitating professional-grade audio recordings, come equipped with multitrack recording functionality, low-latency communication, and support for high-resolution audio capturing.
This has made it possible to capture studio-quality audio from anywhere around the globe; thus changing the way content producers cooperate and make their audio samples.
4. Recording on a portable recording device:
For convenience and versatility during on-the-go recording sessions, portable recording devices come in handy. These devices can be used anywhere by anyone who carries them whether it’s handheld recorders like Zoom H4n or smartphone applications like Voice Memos.
Portable audio recording devices may not always match up to dubbing studio in Bangalore configurations in terms of power but still can make outstanding audio recordings, field recordings, interviews, and more.
Portable recording devices come with built-in microphones and user-friendly interfaces; hence they offer an easy option for those who want to record sounds while moving around.
Choosing the Right Equipment
When you want to achieve a professional audio recording, it’s important to choose the right equipment. So, let’s talk about what makes up a recording setup and how it affects getting pristine sound.
1. Microphones:
- Condenser Microphones: In audio recording studio in Bangalore, these microphones are widely used for vocals, recording podcasts, and acoustic instruments as they capture highly detailed sounds due to their high sensitivity nature. They work with phantom power and have the advantage of broad frequency response and low noise levels.
- Dynamic Microphones: These microphones are popular in broadcasting studios due to their robustness as well as versatility; they can also be used at live shows or for taking recordings from loud sources like drums or amplifiers of guitars. They offer great sound isolation and can withstand high SPL (sound pressure level) without distorting.
Ribbon Microphones: The ribbon microphone is often appreciated for its warmness and character when capturing subtle performances leading to natural-sounding final mixes. They are mostly applied in recording studios to take brass instruments, vocalists’ voices, and even string sections
2. Audio Interfaces:
- Audio interfaces act as bridges between digital recording devices and analog audio sources. These are the devices that will enable users to transfer analog audio signals into digital information which can be handled and recorded digitally.
- Depending on the size of your setup, an audio interface can come in different configurations. Such as a simple two-channel interface for solo recordings, or more complex multi-channel interfaces with numerous inputs and outputs.
- These usually have some features such as microphone signal amplifying preamps, condenser microphones that require phantom power supplies, and connectivity options like USB, Thunderbolt, or FireWire.
3. Recorders:
- Standalone recorders: Audio Recording without a computer can be done by using portable, standalone recorders. They frequently come with built-in microphones, external microphone XLR inputs, and data storage options such as SD cards or hard drives.
- When mobility and simplicity are important – such as on-location recordings, field recordings and live performances – standalone recorders will do the trick.
- Computer-Based Recording Options: On the other hand, there are digital audio workstations (DAWs) that run on computers for recording, editing, and mixing audio. DAW software such as Pro Tools, Logic Pro, or Ableton Live have broad features and flexibility for professional audio production.
- To connect microphones and instruments to the computer in addition to other accessories like studio monitors or headphones for monitoring is what is entailed in computer-based recording setups.
4. Additional Equipment:
- Microphone Stands: Essential for positioning microphones securely and accurately, microphone stands come in various types such as boom stands, desk stands, and floor stands. They provide stability and flexibility for capturing the best sound.
- Pop Filters: Pop filters are used to reduce plosive sounds (such as “p” and “b” sounds) and breath noises in vocal recordings. Placed between the microphone and the performer, pop filters help achieve clearer and more natural-sounding vocals.
- Headphones: High-quality headphones are essential for monitoring audio during recording and mixing. They allow performers to hear themselves and other audio sources with accuracy and clarity, ensuring precise performances and accurate mixing decisions.

Mic Placement and Technique
It is very important to have the correct microphone position and technique for high-quality audio recording. Here are some points to consider:
Distance from the Source: You need to adjust the distance of the microphone from the sound source so that you can balance between direct sound and room ambiance. Placing it closer will bring out more direct sound while placing it further captures more ambience.
The angle of Incidence: Pointing the microphone at an appropriate angle relative to a source increases frequency response and reduces undesired sounds. Vary angles at which you place it till you capture what you want.
Directionality of Microphone: You should keep in mind that, while looking at your microphone, it can pick up sounds in different patterns such as cardioid and omnidirectional. When singing you should place yourself according to the sound you want and avoid echoes from walls or any other source of noise.
Shock Mounts and Pop Filters: Mechanical vibrations and handling noise are reduced through shock mounts; also plosive sounds can be lowered by pop filters. These pieces of equipment help maintain an even level of audio quality as well as prevent unwanted artifacts.
Monitoring and Adjustments: For recordings, always keep an eye on the audio signal for optimal levels without clipping or distortion occurring. Adjusting technique as well as mic positioning may sometimes be necessary to get the desired sound quality.

Tips For Great Audio Recording
Optimize Your Recording Environment:
An optimal recording environment must be created to allow for the best audio recording results. Choose a quiet place with less noise and echo to ensure sound quality is crystal clear. To reduce unnecessary noise reflections, consider using soundproofing materials or blankets.
Importance of Mic Placement:
Proper placement of microphones is crucial when it comes to capturing high-quality audio recordings. Experiment with different microphone positions until you find that sweet spot in your sound source. Do not put microphones very near to the sound source to avoid distortion; rather, maintain a consistent mic-to-source distance that results in balanced recordings.
Careful Monitoring of Levels:
Recording audio requires careful monitoring of levels lest one ends up clipping or distorting. This means keeping an eye on your input levels and adjusting them accordingly so that they will not peak. Aim at making your ratio between signal and noise healthy enough to capture clean and dynamic audio recordings instead.
Use Quality Cables and Connections:
Cabling and connectors of good quality should be invested in to ensure that audio recordings are not interfered with as well as signals going down. Poor-quality cables can introduce noise or connection issues that will compromise the audio quality of your recordings
Good Mic Technique:
You should undergo training on how to keep the same mic technique throughout the recording session. Discourage wrong posture and microphone grabbing to minimize unwanted noise and thereby guarantee consistency in audio quality.

Removing Background Noise From Audio Recording
The sound made in the background of audio recordings must be taken off to get a high standard of audio. Noise from the background can interfere with clear audio and cause distractions to listeners. This is sometimes possible through the use of certain techniques as well as tools for reducing or even eliminating it.
One method involved employing noise reduction software and plugins that can examine the audio signal and recognize the frequencies connected with background noise. These instruments, therefore employ filters or algorithms for minimizing or removing undesirable noises yet maintaining desirable sounds unaltered.
Furthermore, recording in quiet places where they have very little ambient noise also reduces requirements for severe noise filtering processing. By following these methods, you can avoid distracting background noise, thus providing more professional-sounding and polished audio recordings.

Conclusion
Great! Now you are ready to produce a high-quality audio recording. No one is perfect, and achieving high-quality audio recordings requires being keen on details, practicing as well, and pursuing excellence in everything that is done.
Every take should be perfect whether it’s music or voiceovers; do not settle for anything short of the best. Here at 432Hz Studio, an audio recording studio in Bangalore, we are enthusiastic about facilitating exceptional quality audio recordings that will leave an impact.
Our cutting-edge facility and experienced team will ensure that your creative vision becomes a reality with utmost precision and perfection. For musicians, podcasters, and others there are many services available to help meet their audio recording needs.
You can rely on 432Hz Studio to give you outstanding results thus taking your project to new levels. We promise nothing but excellence because your sound deserves it – let us assist you in bringing it into reality.